Learn how to get creases out of shoes in 5 easy steps. Say goodbye to unsightly creases and hello to fresh, smooth shoes with these simple techniques!
So, you’ve got a pair of shoes that you absolutely adore, but there’s one little problem – those pesky creases! Don’t worry, because I’ve got you covered with 5 easy steps to get creases out of shoes from your favourite kicks. With just a few simple techniques and some household items, you’ll have your shoes looking as good as new in no time. Say goodbye to those creases and hello to a fresh and smooth pair of shoes that will have you strutting with confidence!
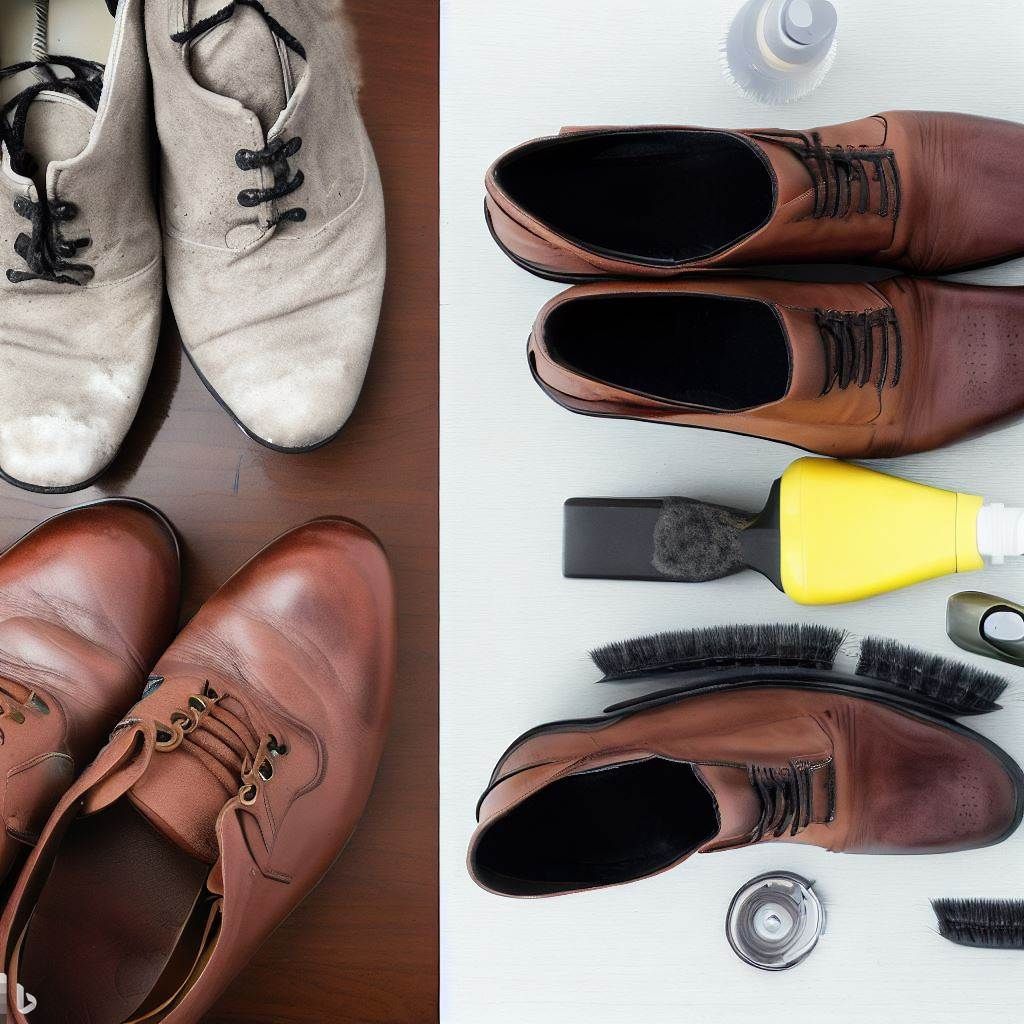
Identify the Material of Your Shoes
Nothing is worse than having your favorite pair of shoes ruined by unsightly creases. Luckily, there are simple methods to remove creases and restore your shoes to their original glory. However, before you can proceed, it’s essential to identify the material of your shoes, as different materials require different treatment methods. So, let’s take a closer look at the most common shoe materials and how to handle them.
Leather Shoes
Leather shoes are a classic choice that exude sophistication and style. To remove creases from leather shoes, you’ll need a few specific tools and materials. First, always start by cleaning the shoes with a soft cloth to remove any dirt or debris. Then, insert shoe trees or stuffing to maintain the shape of the shoes during the process. Next, apply a leather conditioner or shoe cream to the creased areas, gently massaging it into the leather. Leather conditioner not only helps to remove creases but also enhances the overall appearance and durability of the shoes.
Suede or Nubuck Shoes
Suede or nubuck shoes require a slightly different approach to remove creases without damaging the delicate material. Begin by cleaning the shoes with a clean cloth to remove any surface dirt or stains. Avoid using water directly, as it can leave water spots on suede or nubuck. Once the shoes are clean, use a suede brush or a soft cloth to gently brush the creased areas in one direction. This will help to restore the nap of the suede or nubuck and minimize the appearance of creases. If necessary, you can experiment with lightly steaming the shoes using a steamer or holding them over a kettle’s steam to further remove creases.
Canvas or Fabric Shoes
Canvas or fabric shoes are not only comfortable but also versatile. To remove creases from these types of shoes, start by cleaning the surface with a damp cloth and mild soap if needed. Be careful not to saturate the fabric. Once clean, stuff the shoes with shoe trees or crumpled paper to ensure they maintain their shape during the process. Next, apply gentle pressure to the creased areas using your hands or a clean cloth while letting the shoes air dry. You can also try using a hairdryer on a low heat setting to apply gentle heat to the creased areas, as long as the fabric can tolerate it.
Synthetic or Rubber Shoes
Synthetic or rubber shoes, such as sneakers or athletic shoes, are incredibly popular due to their durability and versatility. Removing creases from these types of shoes is relatively straightforward. Start by cleaning the shoes with a damp cloth to remove any dirt or debris. Then, stuff the shoes with shoe trees or crumpled paper to help them maintain their shape. If the creases are not too severe, applying gentle heat from a hairdryer on a low heat setting can help to soften the material and allow you to manipulate it to remove the creases. Be cautious not to overheat or melt the synthetic or rubber material.
Other Materials
There are various other materials used in shoe construction, such as exotic leathers, mesh, or patent leather. Each material requires different care, so it’s crucial to consult the manufacturer’s guidelines or seek professional advice if you’re unsure how to remove creases from these specific materials. Taking the time to understand the composition of your shoes will ensure that you use the appropriate tools and methods to effectively remove creases without causing any damage.
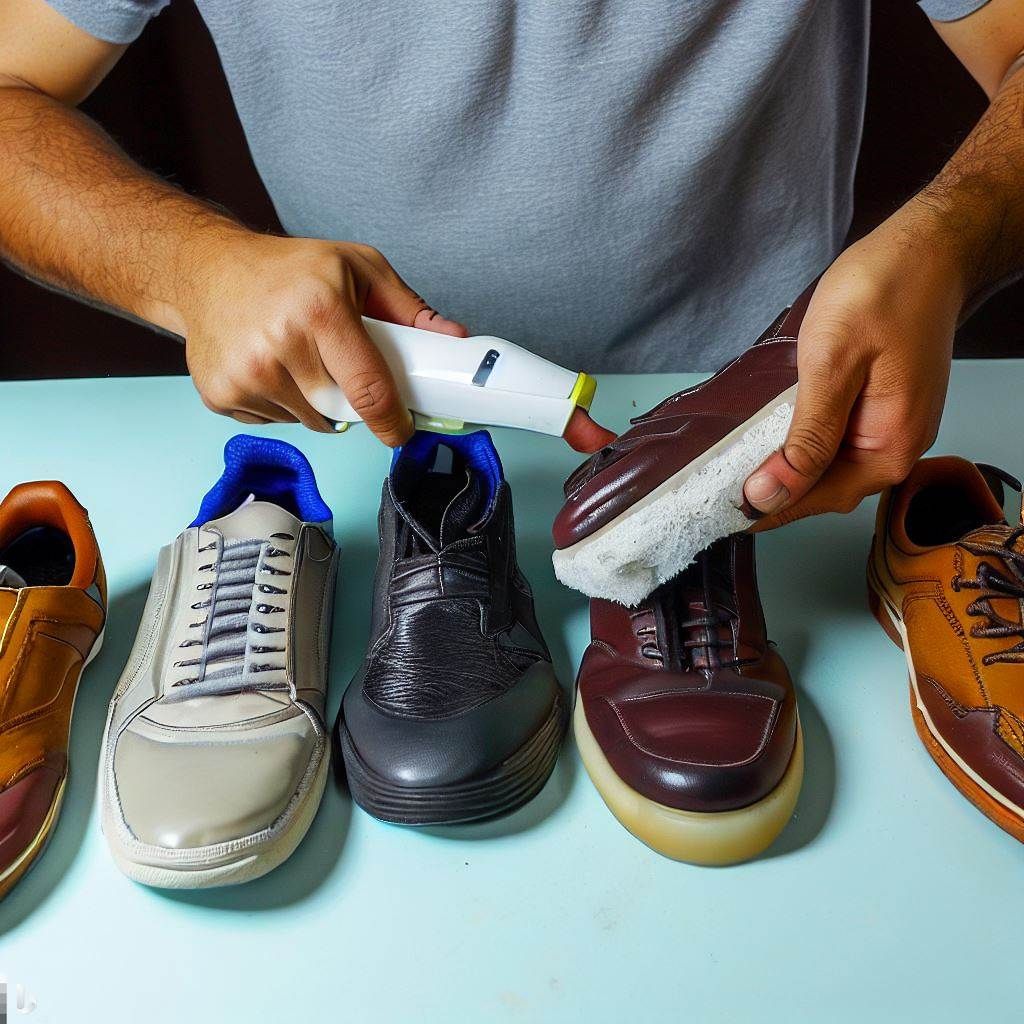
Gather the Necessary Tools and Materials
Before you embark on the journey of removing creases from your shoes, gather all the necessary tools and materials. By having everything prepared in advance, you can streamline the process and achieve the best results.
Shoe Trees or Stuffing
Shoe trees, which are shaped inserts that maintain the shape of your shoes, are an invaluable tool for removing creases. If you don’t have shoe trees, you can also use crumpled paper or any soft material to stuff the shoes. This will help them retain their form and prevent new creases from forming while you work on removing the existing ones.
Clean Cloth
A clean cloth is essential for wiping away dirt, debris, or any cleaning agents you use during the process. It’s important to use a soft, lint-free cloth to avoid scratching or damaging the shoe’s surface.
Water or Steam
Depending on the material of your shoes, you may need water or steam to soften the creased areas. Make sure to use distilled or filtered water to avoid leaving any mineral stains on the shoes. In some cases, a steamer might be a helpful investment to safely provide the required steam for removing creases.
Heat Source (Hairdryer, Iron, etc.)
Heat can be a valuable ally when it comes to removing creases from certain shoe materials. A hairdryer on a low heat setting is usually sufficient for most shoes. However, be cautious not to use excessive heat or hold any heating device too close, as this can cause damage to the shoes. Alternatively, an iron with a low heat or steam setting can be useful for certain materials, but exercise extreme caution to prevent scorching or melting.
Leather Conditioner or Shoe Cream (for leather shoes)
If you’re working with leather shoes, having a quality leather conditioner or shoe cream is crucial. These products help to not only remove creases but also nourish and maintain the leather’s suppleness and longevity. Choose a conditioner or cream that matches the color of your shoes and follow the manufacturer’s instructions for optimal results.
Prep Your Shoes
Now that you have identified the material of your shoes and gathered the necessary tools and materials, it’s time to prepare your shoes for the crease-removal process. Proper preparation will ensure that you achieve the best possible results and minimize the risk of causing any damage to your beloved footwear.
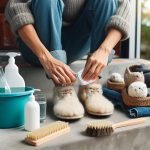
Clean the Shoes
Before you begin removing creases, it’s essential to start with clean shoes. Use a clean cloth to wipe away any dirt, debris, or stains from the surface. If necessary, you can lightly dampen the cloth with water or a mild soap solution for more stubborn stains. However, always check the manufacturer’s guidelines for specific cleaning instructions, as certain materials may have unique requirements.
Insert Shoe Trees or Stuffing
To help your shoes maintain their shape during the crease removal process, insert shoe trees or stuffing. Shoe trees will provide support and prevent any further creases from forming while you work on removing the existing ones. If you don’t have shoe trees, you can achieve a similar effect by stuffing the shoes with crumpled paper or any soft material that can maintain their shape.
Apply Leather Conditioner or Shoe Cream (for leather shoes)
If you’re working with leather shoes, now is the time to apply a leather conditioner or shoe cream. Follow the manufacturer’s instructions and apply the conditioner or cream to the creased areas. Gently massage it into the leather, allowing it to penetrate and moisturize the skin. This will not only help to remove creases but also enhance the overall appearance and longevity of the shoes. Give the conditioner or cream ample time to be absorbed by the leather before proceeding to the next steps.
Apply Heat to Get Creases Out of Shoes
Now that you have prepped your shoes, it’s time to apply heat to remove the creases. Heat helps to relax the material and make it more pliable, allowing you to manipulate the creased areas more effectively. However, it’s crucial to approach this step with caution and follow the appropriate methods for each shoe material.
Using a Hairdryer
For most shoe materials, the use of a hairdryer on a low heat setting is an effective and safe method to remove creases. Hold the hairdryer several inches away from the creased areas and move it in a back-and-forth motion. The heat will soften the material, making it more malleable. While the material is warm, use your hands or a clean cloth to gently press and smooth out the creases. Take care not to apply excessive force or overheat the shoes, as this can cause damage.
Using an Iron
An iron can be useful for certain materials, but it requires extra caution to prevent any mishaps. Set the iron to a low heat or steam setting, and avoid direct contact between the iron and the shoes. Instead, use a clean cloth or a piece of thin fabric as a protective barrier. Place the cloth over the creased areas and apply gentle pressure with the iron. The heat and moisture from the steam can help relax the material, enabling you to smooth out the creases more effectively. Be careful not to apply excessive heat, as it may scorch or distort certain shoe materials.
Using Steam
Steam can be an effective way to remove creases from certain shoe materials, particularly those that are more delicate or sensitive to direct heat. You can use a steamer or create your own steam by holding your shoes over a kettle spout or a pot of boiling water. Allow the steam to penetrate the creased areas, making the material more pliable. While the shoes are warm, use your hands or a clean cloth to gently massage and smooth out the creases. Take caution not to overexpose the shoe material to excessive heat or moisture, as this may cause damage or discoloration.
Allow Shoes to Cool and Settle
After applying heat to remove the creases, it’s important to allow your shoes to cool down and settle. This step ensures that the manipulated material retains its new shape and minimizes the risk of new creases forming.
Let Shoes Cool Down
After removing the shoes from any heat source, allow them to cool naturally. Placing the shoes in a cool and dry area will help the material retain its shape and prevent any deformation.
Remove Shoe Trees or Stuffing
Once the shoes have cooled down, carefully remove the shoe trees or stuffing. This will allow the shoes to relax naturally and settle into their new shape. Be gentle when removing the shoe trees or stuffing to avoid causing any unnecessary stress or damage to the material.
Check for Desired Results
Take a moment to inspect your shoes and evaluate the results. Most likely, the creases will have significantly diminished or disappeared altogether. However, if you’re not completely satisfied with the outcome, don’t be discouraged. It might be necessary to repeat the process or try alternative methods to achieve the desired results.
Repeat the Process if Necessary
In some cases, removing creases from shoes may require more than one attempt. If you find that the creases are still noticeable after the initial treatment, don’t give up just yet. Assess the results, determine if any additional steps can be taken, and consider repeating the process. Remember to be patient and take your time during each attempt, as rushing the process may lead to unintended damage.
Assess the Results
After allowing your shoes to cool and settle, take a step back and assess the results. Are the creases significantly reduced or completely gone? If there are still noticeable creases, consider the severity, material of the shoes, and the methods you have already tried. This assessment will help you decide whether to repeat the steps or explore alternative approaches.
Repeat Steps as Needed
If you’re not satisfied with the initial results, don’t hesitate to repeat the steps outlined in this guide. By reapplying heat and gently manipulating the material, you may be able to further reduce or eliminate the remaining creases. Take your time and exercise caution, ensuring that you are not causing any damage to the shoes in the process.
Protect and Maintain Your Shoes
Now that you have successfully removed the creases from your shoes, it’s important to protect and maintain them to prevent new creases from forming and extend their lifespan.
Store Shoes Properly
Proper shoe storage is essential for maintaining their shape and avoiding unnecessary creases. Invest in a shoe rack or shoe organizer that allows each pair to be stored individually, without any pressure or crushing. Avoid stacking or piling shoes on top of each other, as this can lead to creases and deformations over time. Ideally, store your shoes in a cool and dry area to prevent moisture and excess heat from affecting the material.
Regular Cleaning and Maintenance
Keeping your shoes clean is not only visually appealing but also helps prevent dirt or debris from causing additional creases. Regularly wipe down your shoes with a clean, damp cloth to remove any surface dirt. If your shoes are made of leather, periodically apply a leather conditioner and polish to maintain their suppleness and shine.
Use Shoe Trees to Prevent Future Creases
To prevent new creases from forming, use shoe trees whenever you’re not wearing your shoes. Shoe trees help maintain the shape and prevent the material from creasing when not in use. They also absorb moisture, keeping your shoes dry and odor-free.
Consider Using Shoe Stretchers or Inserts
If you’ve noticed that certain parts of your shoes are more prone to creasing, such as the toe box or vamp, consider using shoe stretchers or specialized inserts. These tools can help expand and reshape specific areas, reducing the likelihood of creases forming or worsening.
Consult a Professional Cobbler if Required
If you’re dealing with stubborn creases or have especially delicate or valuable shoes, it’s always advisable to consult a professional cobbler. Cobblers have the expertise and experience to handle a wide range of shoe repair and restoration tasks. They can guide you on the best methods or offer specialized treatments to remove creases while ensuring the safety of your shoes.
Additional Tips and Precautions
While removing creases from your shoes is a straightforward process, there are additional tips and precautions to keep in mind to avoid any mishaps.
Test Methods on a Small Area
Before applying any method or product to your entire shoe, it’s wise to perform a patch test on a small, inconspicuous area. This will allow you to observe how the material reacts and minimize the risk of any adverse effects or discolouration.
Avoid Excessive Heat or Moisture
Although heat and moisture are essential for removing creases, it’s important to exercise caution and avoid excessive amounts of either. High temperatures or prolonged exposure to heat can damage or distort certain shoe materials. Likewise, excessive moisture can lead to staining, stretching, or shrinking of the material. Always use moderation and follow the specific guidelines for each shoe material.
Be Gentle and Patient
When manipulating the material to remove creases, remember to be gentle and patient. Avoid using excessive force or aggressive techniques, as this can cause unintended damage. Take your time and allow the material to gradually respond to the heat and pressure, ensuring you achieve the desired results safely.
Follow the Manufacturer’s Guidelines
Each shoe manufacturer may have specific care instructions or recommendations for removing creases. It’s always advisable to consult the manufacturer’s guidelines before attempting any crease removal methods. This will ensure that you’re using the appropriate tools and methods without jeopardizing any warranties or guarantees.
Seek Professional Help if Uncertain
If you’re unsure about any step in the process or are dealing with especially delicate or valuable shoes, it’s best to seek professional help. Taking your shoes to a professional cobbler or shoe repair specialist ensures that they receive the care and attention they deserve. Professionals have the knowledge, experience, and specialized tools to safely remove creases and restore your shoes to their former glory.
Fixing Specific Types of Creases
While most creases can be effectively removed using the methods outlined in this guide, certain types of creases may require additional attention and techniques. Here are some specific scenarios and solutions to address them:
Toe Box Creases
Toe box creases are common in many types of shoes, particularly when they have a more pointed or rounded toe shape. To remove toe box creases, focus on applying gentle heat and pressure directly to the creases. You can use a hairdryer or a low-heat iron, combined with a clean cloth as a protective barrier, to manipulate the creased areas. Be patient and repeat the process if necessary, gradually smoothing out the creases.
Creases on the Vamp
Creases on the vamp, which is the upper front part of the shoe, can be stubborn and more visible. Begin by cleaning the shoes and applying gentle heat to the creases using a hairdryer or steam. Once the material is warm and pliable, gently massage and stretch the creased areas with your hands or a clean cloth. This will help relax the material and gradually minimize the appearance of the creases. Repeat the process as needed, keeping in mind the material’s limitations.
Creases on Sides or Heel
Creases on the sides or heel of the shoe can often be addressed through the general methods described earlier. However, pay extra attention to the specific material of your shoes and adjust the techniques accordingly. Apply gentle heat and pressure, and gradually manipulate the creases using either a hairdryer or steam. Be cautious not to overheat or overly saturate the material, as this can lead to damage or discoloration.
Removing Deep or Stubborn Creases
Sometimes, deep or stubborn creases may require more intensive measures. In such cases, consider seeking professional assistance from a cobbler or shoe restoration specialist. These experts have the knowledge and tools to address more complex crease removal tasks, and they can recommend specialized treatments that may not be suitable for DIY methods. Avoid attempting aggressive or unconventional methods that may cause irreparable damage to your shoes.
Conclusion
Removing creases from your shoes is a rewarding process that allows you to restore their appearance and prolong their lifespan. By following the steps outlined in this guide, you can effectively remove creases from various shoe materials while minimizing the risk of causing any damage.
Remember to identify the material of your shoes, gather the necessary tools and materials, and follow the specific techniques for each type of shoe. Always prioritize the proper preparation, application of appropriate heat, and careful evaluation of the results. With a little patience and the right approach, you can say goodbye to creased shoes and step out with confidence once again.